GatsbyでHP作成 その1:インストール~ブログタイトルを変更
Gatsybyという、WEBサイトを作るツールを使って、ガンバラナイのHPを作っていきます。
「がんばらない技術を提供」とか言って、いきなり難しいことを書いていますが、
「がんばりたい」ことは、がんばります!
「がんばりたくない」ことは、がんばりません。もしくはがんばらないように考えます。
ということで、以下は興味のある人や、これからGatsbyでブログやHPを構築していこうという人だけ読んでください。
Gatsby Starter Blogをインストール
Gatsbyはすでインストールされている前提で進めていきます。
Gatsby Starter Blogをベースに改造していきます。
$ npx gatsby new ganbaranai-blog https://github.com/gatsbyjs/gatsby-starter-blogこれでインストールできるので、とりあえずローカルで表示してみます。
$ cd ganbaranai-blog
$ yarn develop(自分は、こちらを参考にyarnを使うようにしました。)
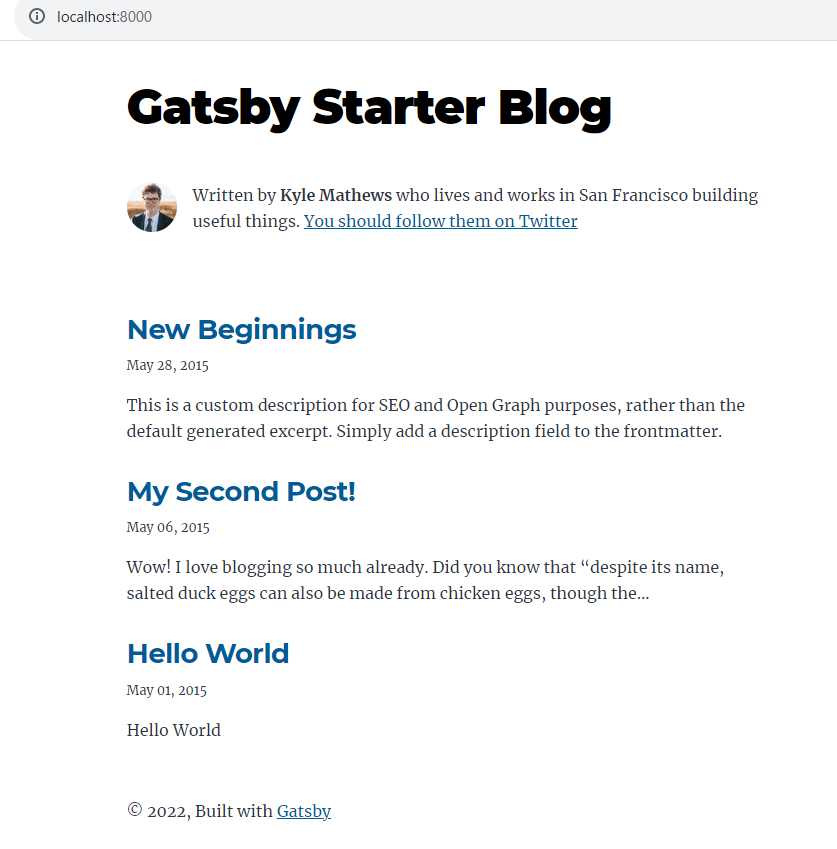
ブラウザで、http://localhost:8000/ を確認すると以下のようになりました。

ページタイトルなどの基本情報を変更
gatsby-config.jsの基本情報を修正。
siteMetadata: {
    title: `ガンバラナイ`,
    author: {
      name: `Kyle Mathews`,
      summary: `who lives and works in San Francisco building useful things.`,
    },
    description: `がんばり過ぎていませんか?がんばらない技術を提供します。`,
    siteUrl: `https://ganbaranai.tech/`,
    social: {
      twitter: `ganbaranai_tech`,
    },
  },
とりあえず、title,description,siteUrl,twitterを修正しました。
トップページAuthor表示をやめて簡単な説明文を入れる
src/index.jsを修正
if (posts.length === 0) {
    return (
      <Layout location={location} title={siteTitle}>
        <Seo title="All posts" />
        {/*<Bio />*/}
        <p>
          No blog posts found. Add markdown posts to "content/blog" (or the
          directory you specified for the "gatsby-source-filesystem" plugin in
          gatsby-config.js).
        </p>
      </Layout>
    )
  }

  return (
    <Layout location={location} title={siteTitle}>
      <Seo title="All posts" />
      {/*<Bio />*/}
      <div>
        がんばり過ぎていませんか?<br/>
        ガンバラナイは、がんばらない技術を提供していきます。
      </div>
      <ol style={{ listStyle: `none` }}>
<Bio />の行をコメントアウトしました。
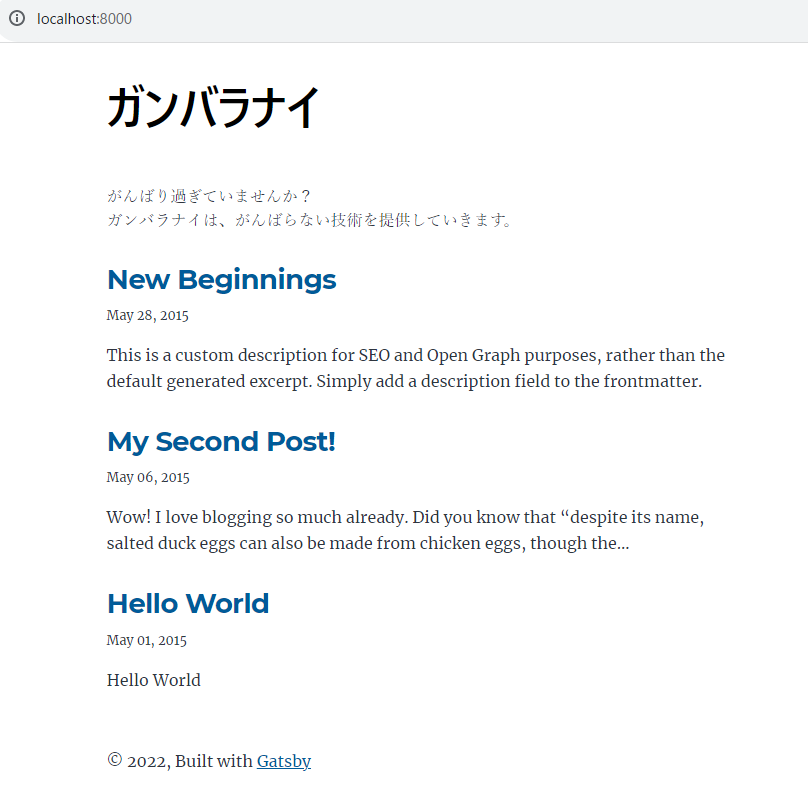
ここまでの修正で以下のような表示になりました。
